
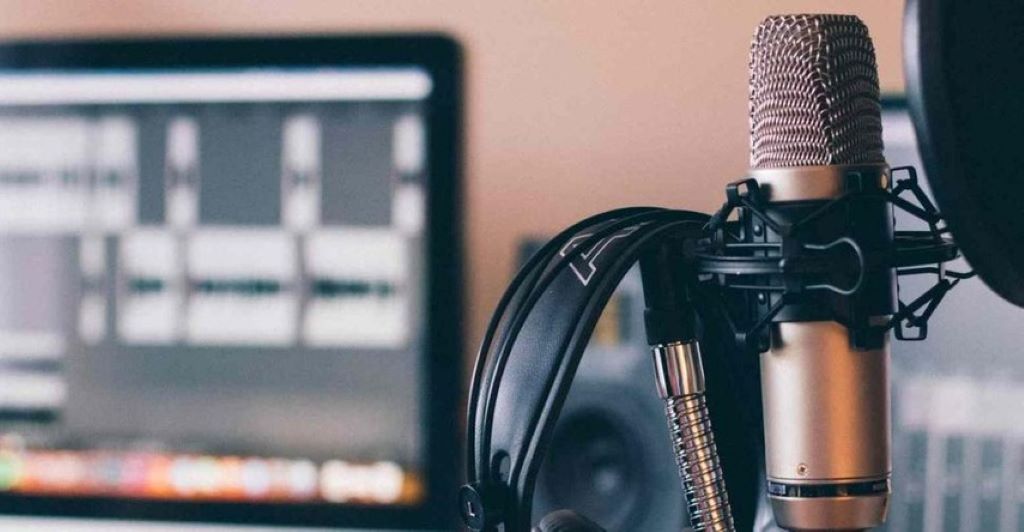
How to Play Music Through a Microphone: A Step-by-Step Guide for Beginners
Imagine hosting a virtual karaoke night with friends or streaming a live performance where you seamlessly blend music with your voice—all through a single microphone. Sounds exciting, right? Playing music through a microphone is a versatile skill that can elevate your gaming, streaming, or content creation game. Whether you’re a Discord user, a Twitch streamer, or just want to have fun with friends online, this guide will walk you through everything you need to know about playing music through a mic. From setting up your equipment to troubleshooting common issues, we’ve got you covered with practical, beginner-friendly steps.
In this 1,200+ word article, you’ll learn how to play music through your microphone using free and paid tools, avoid common pitfalls, and ensure high-quality audio output. Let’s dive into the world of audio streaming and make your setup sing!
Why Play Music Through a Microphone?
Playing music through a microphone is a popular technique for:
- Streaming and Content Creation: Streamers on platforms like Twitch or YouTube often play background music or sound effects through their mic to enhance their content.
- Gaming and Voice Chats: Gamers use this method to share music in Discord or other voice chat apps during gaming sessions.
- Karaoke and Virtual Events: Hosting virtual karaoke or DJ sessions requires blending music and vocals seamlessly.
- Podcasting or Live Performances: Podcasters and performers may want to mix music with their voice for intros, outros, or live shows.
The process involves routing music from your device (like a computer or phone) through your microphone input, so it’s transmitted as part of your voice feed. This can be done with software, hardware, or a combination of both. Let’s explore the tools and methods to make this happen.
What You’ll Need to Get Started
Before diving into the setup, gather these essentials:
- A Microphone: Any USB or XLR microphone will work, but ensure it’s compatible with your device.
- A Computer or Smartphone: Most setups require a device to run audio software or apps.
- Audio Software: Tools like Voicemeeter, OBS Studio, or Virtual Audio Cable (for PC) or apps like Audio Hijack (for Mac) are popular choices.
- Music Source: This could be a music player like Spotify, YouTube, or your local MP3 files.
- Headphones or Earphones: To avoid feedback loops where the music loops back into the mic.
- Optional Hardware: A mixer or audio interface for advanced setups.
Method 1: Using Software to Play Music Through Your Mic (Windows)
Software-based solutions are the most accessible and cost-effective way to play music through your microphone. Here’s a step-by-step guide using Voicemeeter, a free and powerful audio mixer for Windows.
Step 1: Download and Install Voicemeeter
- Visit the official Voicemeeter website and download Voicemeeter Banana (the free version works great for beginners).
- Install the software and restart your computer to ensure proper driver setup.
Step 2: Set Up Voicemeeter
- Open Voicemeeter Banana and select your microphone as the input device under “Hardware Input 1.”
- Choose your speakers or headphones as the output device under “A1” or “A2.”
- Enable the “Virtual Input” (Voicemeeter VAIO) to act as a virtual microphone for your music.
Step 3: Route Music Through Voicemeeter
- Open your music player (e.g., Spotify or VLC Media Player).
- In your music player’s audio settings, set the output to “Voicemeeter Input (VB-Audio Voicemeeter VAIO).”
- In Voicemeeter, adjust the faders to balance the music and your microphone volume. Ensure the music isn’t overpowering your voice.
Step 4: Configure Your Voice Chat or Streaming App
- Open your app (e.g., Discord, Zoom, or OBS Studio).
- In the app’s audio settings, select “Voicemeeter Output” as the microphone input.
- Test the setup by playing music and speaking. Your voice and music should blend seamlessly.
Step 5: Fine-Tune Audio Levels
- Use Voicemeeter’s sliders to adjust the volume of your mic and music.
- Enable the “Gate” or “Comp” features in Voicemeeter to reduce background noise and ensure clear audio.
Pro Tip: To avoid copyright issues when streaming, use royalty-free music from platforms like Epidemic Sound or YouTube Audio Library.
Method 2: Using Software on a Mac
For Mac users, Audio Hijack is a robust tool for routing music through your microphone. While it’s a paid app, it offers a user-friendly interface and powerful features.
Step 1: Install Audio Hijack
- Download Audio Hijack from Rogue Amoeba’s website (a free trial is available).
- Install and open the app.
Step 2: Create a New Session
- In Audio Hijack, create a new session and add two input blocks: one for your microphone and one for your music app (e.g., Apple Music or Spotify).
- Add an output block to route the combined audio to a virtual device or directly to your voice chat app.
Step 3: Route the Audio
- Connect the microphone and music inputs to the output block.
- Adjust the volume levels for each input to balance the sound.
Step 4: Set Up Your Voice App
- In your voice app (e.g., Discord or Zoom), select the Audio Hijack virtual output as your microphone.
- Test the setup to ensure both music and voice are transmitted clearly.
Note: Audio Hijack requires some trial-and-error to perfect the settings, but its drag-and-drop interface makes it beginner-friendly.
Method 3: Using Hardware for Professional Results
For those seeking higher audio quality or more control, a hardware-based setup with a mixer or audio interface is ideal. This method is great for podcasters or streamers who want professional-grade audio.
Step 1: Choose Your Hardware
- Audio Mixer: A small mixer like the Yamaha MG10XU or Behringer Xenyx Q802USB is affordable and versatile.
- Audio Interface: Devices like the Focusrite Scarlett 2i2 work well for connecting microphones and instruments.
Step 2: Connect Your Devices
- Plug your microphone into the mixer or audio interface.
- Connect your music source (e.g., phone or computer) to an auxiliary input on the mixer using a 3.5mm or RCA cable.
- Connect the mixer’s output to your computer via USB or to your speakers/headphones.
Step 3: Configure Your Software
- Set your mixer or audio interface as the input device in your voice chat or streaming app.
- Adjust the mixer’s faders to balance the music and microphone levels.
Step 4: Test and Adjust
- Play music and speak into the mic to test the output.
- Use the mixer’s EQ settings to fine-tune the audio for clarity.
Pro Tip: Hardware setups reduce latency and offer better sound quality but require a higher upfront investment.
Troubleshooting Common Issues
Even with the best setup, you might encounter issues. Here’s how to fix common problems:
- Echo or Feedback: Wear headphones to prevent the music from looping back into the microphone. Ensure your speakers are turned off or muted.
- Low Music Volume: Increase the music input volume in your software or mixer. Check that your music player’s volume is turned up.
- Distorted Audio: Lower the input gain on your microphone or music source to avoid clipping.
- App Not Detecting Audio: Double-check that your voice app is set to the correct virtual output (e.g., Voicemeeter Output or Audio Hijack).
Best Practices for High-Quality Audio
To ensure your music and voice sound professional, follow these tips:
- Use High-Quality Music Files: MP3s or streaming services with at least 320kbps bitrate provide better sound.
- Monitor Audio Levels: Keep your microphone and music levels balanced to avoid drowning out your voice.
- Test Before Going Live: Always do a test run in your voice app or streaming software to catch issues early.
- Avoid Copyrighted Music: For public streams, use royalty-free or licensed music to avoid takedowns.
- Update Drivers and Software: Ensure your audio drivers and software are up to date to prevent glitches.
Alternative Tools and Apps
If Voicemeeter or Audio Hijack aren’t your style, consider these alternatives:
- Virtual Audio Cable (Windows): A lightweight tool for routing audio between apps.
- OBS Studio (Windows/Mac): Free software with audio mixing capabilities, ideal for streamers.
- Loopback (Mac): A paid alternative to Audio Hijack with similar functionality.
- VB-Audio VoiceMeeter Potato (Windows): A more advanced version of Voicemeeter for complex setups.
Legal Considerations
When playing music through your mic, especially for public streams or recordings, be mindful of copyright laws. Using copyrighted music without permission can lead to content strikes or bans on platforms like Twitch or YouTube. Stick to royalty-free music or obtain licenses from services like Soundstripe or Artlist.
Conclusion: Start Playing Music Through Your Mic Today
Playing music through a microphone is a game-changer for streamers, gamers, and content creators. With the right tools—whether it’s free software like Voicemeeter, a paid app like Audio Hijack, or a hardware mixer—you can create engaging, professional-sounding audio in no time. By following the steps in this guide, you’ll be able to seamlessly blend music with your voice for Discord calls, Twitch streams, or virtual karaoke nights.
Related Topics:
Five ways to obtain Greek citizenship
Silver Neck Ring for Thin Girls: Embrace Elegance and Grace